When you buy or update a map, you may be able to choose a Map Zone using MyDrive Connect. This happens if you cannot fit a complete map on your navigation device. For more information, see Available Map Zones (MyDrive Connect)
Choose one of the options below to see how to install or how to change a Map Zone.
Installing a map zone
- Connect your navigation device to your computer. Switch on your device.
-
If MyDrive Connect doesn't open automatically, click the MyDrive Connect icon (
 ) in the Windows notification area or Apple menu bar and then click
MyDrive Connect
.
-
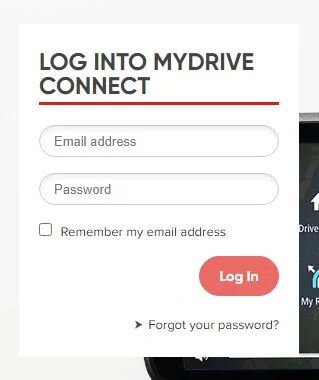
If you are not already logged in, enter your email address and password and then click
Log in
. You can select "Remember my email address" so you don't have to enter it next time.
-
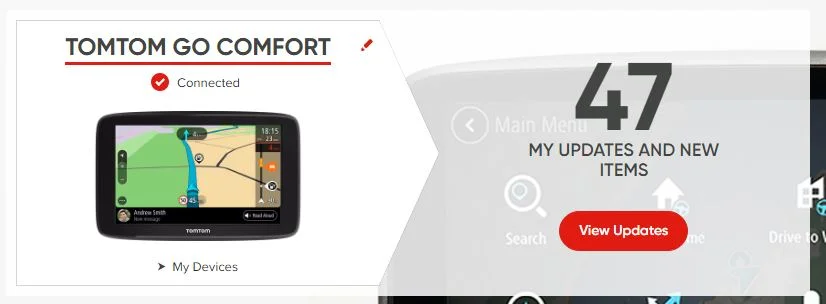
You see an overview of the number of available updates ready for your device and, if applicable, any items which have expired or are about to expire.
-
Click
My Content
at the top left of the page.

-
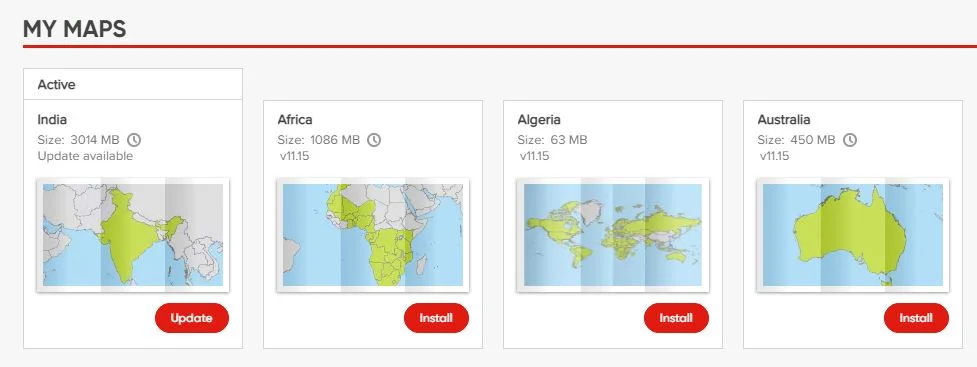
Under MY MAPS, click
Update
on the map you want to update.
Note : This button is called Install if the map is not installed on your device. Click Install to install the map on your device.
- You can choose if you want to free up space, install a smaller map (Map Zone) or use a memory card (if available)
- If you choose to install a smaller map, you will see an overview of the Map Zones available to you as in the example shown below:
- Click the Map Zone you want to install on your navigation device.
- If this is the Map Zone you want to install click Free up space .
-
You are now asked to create free space so that you can install your item:
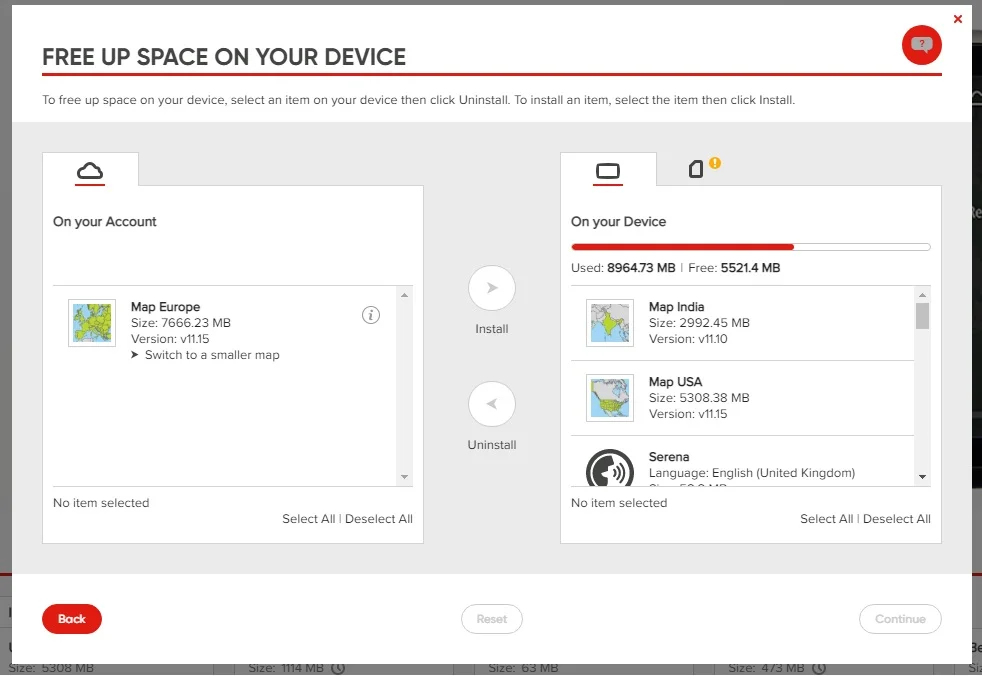
On the left you see the Map (Zone) you can install. On the right you see items you can remove from your device to make space. - On the right, click the item you want to remove, for example the map of USA & Mexico, and then click Uninstall in the centre.
-
On the left, click the Map (Zone) you want to install on your navigation device and then click
Install
.
Tip: The item(s) you remove remain available on your account for later installation.
- Click Continue .
- You are now asked to confirm your choices.
- Click Confirm to confirm your choices.
- The map is downloaded and installed on your navigation device.
Changing your map zone
- Connect your navigation device to your computer. Switch on your device.
-
If MyDrive Connect doesn't open automatically, click the MyDrive Connect icon (
 ) in the Windows notification area or Apple menu bar and then click
MyDrive Connect
.
-
If you are not already logged in, enter your email address and click Log in. You can select "Remember my email address" so you don't have to enter it next time.

-
You see an overview of the number of available updates ready for your device and, if applicable, any items which have expired or are about to expire.

-
Click
My Content
at the top left of the page.

-
If you have a Map Zone installed, you can see under
My Maps
which Map Zone currently is installed on your navigation device as shown below:
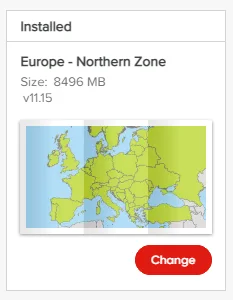
- If you want to install another Map Zone click Change Map Zone .
- You will see an overview of the Map Zones available to you as in the example shown below:
- Click one of the suggested Map Zones on the right to select the Map Zone you want to install.
- You now see a map of the Map Zone you've selected.
- If this is the Map Zone you want to install click Continue .
- A screen asks you to confirm your choice of Map Zone.
- If this is the Map Zone you want to install click Install .
- The map is downloaded and installed on your navigation device.
Watch the video
This video shows how to update or change the installed maps for your device, and how to install a brand new map. The steps shown in this video apply to all devices that update with MyDrive Connect. For more information on freeing up space on your device, click this link .